Baby Gate Banister and Baseboard Installation Guide
Quick Answer
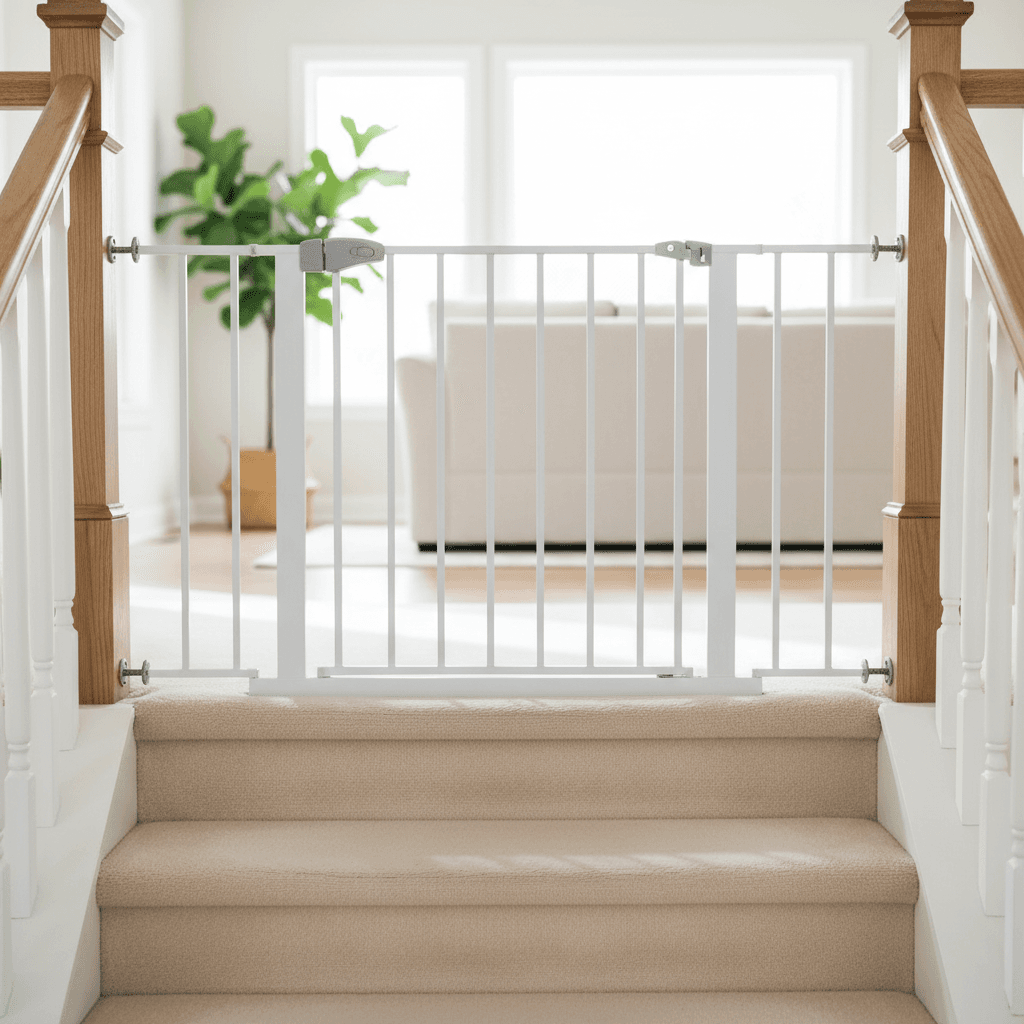
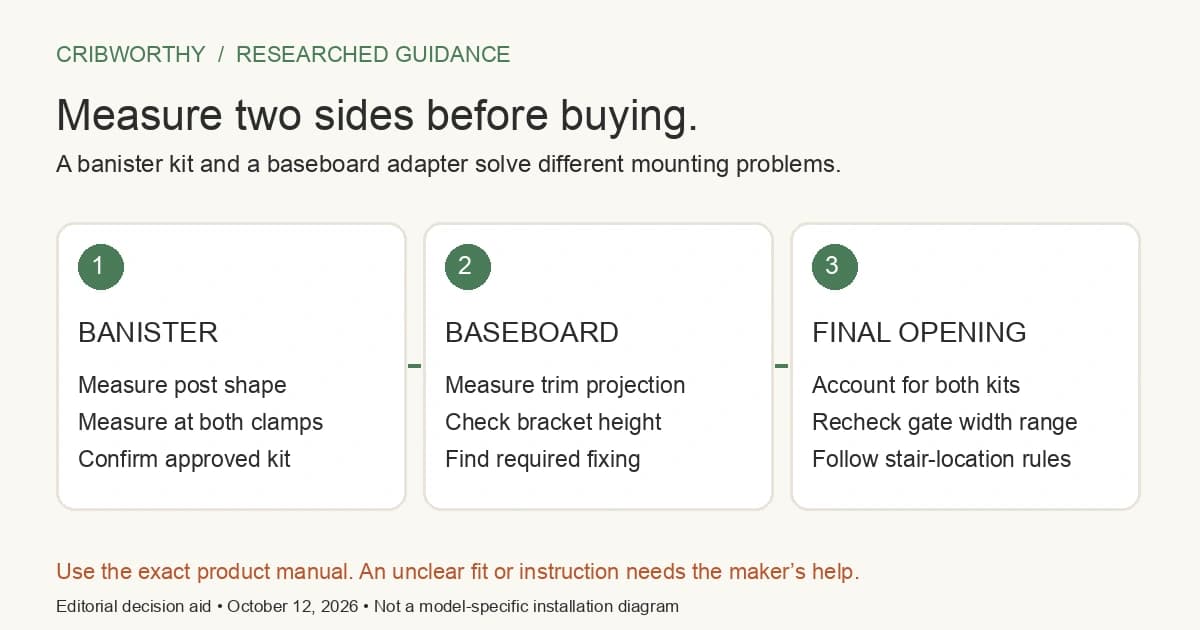
For a banister-and-baseboard opening, choose the mounting method for the location first, then measure both sides where the brackets will sit. At the top of stairs, use a hardware-mounted gate approved for that location. Match the post shape and baseboard projection to compatible mounting kits, account for the width they occupy, and follow both the kit and gate instructions.
Our Verdict
Measure the mounting surfaces before buying the gate or adapters. A compatible banister kit can protect woodwork while giving a hardware-mounted gate a flat attachment surface, but a baseboard kit needs its specified structural fixing. Stop if the kit does not fit, the mounting surface is uncertain or the gate cannot meet its stair-placement rules.
Key Takeaways
- ✓Add the step edge, proposed swing direction and any nearby railing opening to the sketch. A post can change shape at the upper clamp.
- ✓A banister mounting kit creates a surface for the gate's hardware.
- ✓A projecting baseboard can push a lower bracket inward while the upper bracket sits against the wall. Qdos explains that its baseboard adapter provides an even vertical mounting surface.
- ✓Measure the gate opening between the completed mounting surfaces. Qdos's stair-adapter manual says its kit occupies 1.5 inches on each adapted side.
- ✓Only after answering both do you check the remaining width and the gate's permitted stair placement. If the structural fixing is unresolved, having a perfectly fitting banister clamp does not finish the plan.
As an Amazon Associate I earn from qualifying purchases. Product prices and availability are subject to change.
We researched manufacturer mounting instructions for awkward openings. This is a planning guide, not a universal screw-by-screw installation manual or an assessment of your home’s structure.
First decide: top of stairs, bottom or doorway?
CPSC's childproofing guidance says to use only gates that screw to the wall at the top of stairs. Pet gates are not substitutes; no device is completely childproof.
For a stair-top opening, the gate's manual must permit that location and explain placement, mounting and swing restrictions. Read the location warning before solving the banister fit.
Our baby gates for stairs guide compares gate types; the gates and childproofing category collects related gear and guides. Use this page afterward to check whether the chosen mounting arrangement suits your opening. A wall cup, Y-shaped pressure spindle or adhesive pad is not a workaround for a top-of-stairs prohibition.
Make a mounting sketch before you buy
Draw two vertical sides on paper and mark where each upper and lower bracket would attach. Record these measurements in inches:
| Measurement | Why you need it |
|---|---|
| Opening width at upper and lower bracket positions | Reveals a tapered opening or trim changing the clearance |
| Post width and depth, or round-post diameter, at both clamp positions | Decorative posts may change shape between those heights |
| Baseboard height and projection from the wall | Determines whether a flat adapter can bridge the trim |
| Proposed upper mounting height | Checks the adapter's permitted bracket height |
| Structural wall fixing location | Distinguishes a wood/stud fixing from an unsupported surface |
| Gate and kit space in the opening | Checks the gate range after adapters are included |
Add the step edge, proposed swing direction and any nearby railing opening to the sketch. A post can change shape at the upper clamp.
Banister side: shape and compatibility come first
A banister mounting kit creates a surface for the gate's hardware. Its clamp must fit the relevant part of the post; “universal” on the box does not mean unlimited dimensions or approval for every gate-and-stair combination.
For example, Cardinal's Regular Gate Installation Kit lists square clamps for posts up to 3.5 inches wide and 2.75–3.5 inches deep, and a round clamp for a 2–3-inch diameter. Cardinal says it is designed for its own gates and compatible with most competitors, with no guarantee. Treat those as that kit's limits, not a standard for every adapter.
KidCo's K13 lists banisters up to 4 inches wide; confirm the number of kits needed for your opening with the manufacturer. Send your sketch to the gate or kit maker if the post changes shape or the combination is unclear.
A maker's strap kit is not a bag of zip ties
The Qdos Stair Mounting Adapter manual uses supplied brackets, tightening straps, boards and protective parts in specific assemblies. For round posts, it says the supplied silicone friction tape is necessary to hold the adapter securely. Follow the branch for the actual post shape and use all required parts.
Do not reproduce the appearance with general-purpose zip ties, padding and a loose board. The existence of an engineered strap kit does not establish that a homemade substitute has the same fit or holding behavior.
Baseboard side: create the required vertical surface
A projecting baseboard can push a lower bracket inward while the upper bracket sits against the wall. Qdos explains that its baseboard adapter provides an even vertical mounting surface. Its stated limits are 7 inches of baseboard height, 7/8 inch of thickness and 34 inches of gate mounting height. The upper mounting bracket cannot exceed that height.
Qdos also states that this adapter must be installed into solid wood, such as a door frame or a stud behind drywall. It is not intended for unsupported hollow-wall installation. The adapter avoids drilling into the baseboard; it does not remove the need for its structural fixing.
If your trim or mounting height exceeds those limits, look for a different approved arrangement. Do not shorten the gate's required mounting spacing or omit an upper fixing to make the accessory fit. For a hollow or uncertain wall surface, get the maker's guidance or an experienced childproofing installer to assess the fixing.
Recheck width with the adapters in place
Measure the gate opening between the completed mounting surfaces. Qdos's stair-adapter manual says its kit occupies 1.5 inches on each adapted side. With that specific kit on both sides, the available opening is 3 inches narrower than the original post-to-post measurement. Other kits may occupy different amounts.
A gate that fits the bare opening can therefore be wrong after the adapters are included. Check the gate's adjustment range and approved extensions against the new measurement. Do not stretch hardware beyond its range or buy an unapproved extension to recover the lost width.
A worked planning example: post on one side, trim on the other
Suppose one side has a round newel post and the other has baseboard over drywall. The plan has two separate questions:
- Post: does the selected kit fit at both clamp heights, using the round-post instructions and required friction material?
- Wall: does the baseboard adapter clear the trim, and is there a suitable structural fixing at the required mounting position?
Only after answering both do you check the remaining width and the gate's permitted stair placement. If the structural fixing is unresolved, having a perfectly fitting banister clamp does not finish the plan. Send that unresolved side to the manufacturer or installer.
For the wider room check, our baby-proofing checklist covers hazards beyond the opening. A gate blocks a route; it does not repair a loose post, missing railing section or unsafe landing. Keep those structural questions separate.
What most parents get wrong
“Without drilling” often means without drilling into the banister. You may still need screws into the adapter board and structural fixing on the opposite wall. Another mistake is buying the gate first and discovering that its width range or bracket height does not fit the necessary kits.
The bottom line
Solve location, fixing surfaces and compatibility before ordering. Use the gate and mounting-kit manuals together, then perform their installation and security checks. If no approved arrangement fits, choose another supported layout or get qualified help instead of improvising at the stairs.
Are there baby gates suitable for banisters?
Yes, some gates can attach through compatible banister mounting kits. Check the post shape, dimensions, gate compatibility and intended location. The kit does not override the gate's stair-top restrictions.
Can I install a baby gate without drilling into the banister?
A compatible clamp kit may permit that. The gate typically attaches to the kit's board, and the other side may still require structural screws. Follow both manuals.
Can a baby gate be mounted over baseboards?
A suitable baseboard adapter can provide a vertical mounting surface. Check its trim and bracket-height limits and required fixing. Qdos's cited adapter requires solid wood or a stud, not unsupported drywall.
Does a banister gate also baby-proof the railing?
No. A gate controls access through its opening. Separate railing gaps, loose components or missing guards need their own assessment; do not assume the gate solves them.
Sources
Research Sources
Hilly Shore Inc.
Editorial teamIndependent product research team behind Cribworthy. Reviews are grounded in published AAP / CDC / NHTSA / CPSC pediatric guidance, JPMA / GREENGUARD GOLD / OEKO-TEX certification verification, and aggregated buyer sentiment.
124 products reviewed · 22 categories covered · cites AAP, CDC, NHTSA, CPSC, FDA, ACOG.
Safety claims are verified against published pediatric guidelines and CPSC databases. See our editorial standards.