How to Install a Car Seat Correctly: Step-by-Step Guide
Quick Answer
Install the seat in the back seat, and never put a rear-facing seat in front of an active passenger airbag. Pick one attachment system, either the lower anchors (LATCH) or a locked vehicle seat belt, and route the strap through the correct belt path for that direction. Tighten it hard: if you can move the seat at the belt path more than one inch side to side or front to back, it is not tight enough. For a forward-facing seat, always connect the top tether. Then check the child: the harness should be snug enough that you cannot pinch slack at the shoulders, with the chest clip at armpit level. Lower anchors are rated for a combined 65 pounds (seat plus child), so switch to the seat belt once you cross that. When in doubt, a certified technician at a free inspection station will check your work in person.
Our Verdict
Read both manuals, pick one attachment system, and tighten until the seat moves less than an inch at the belt path. Add the top tether for forward-facing seats, snug the harness so you cannot pinch slack, and keep the chest clip at armpit level. Then register the seat and, if anything feels off, get a free check at an inspection station. Correct installation is a short checklist, not a guessing game.

As an Amazon Associate I earn from qualifying purchases. Product prices and availability are subject to change.
You bought the seat, and now it is sitting in your back seat next to an instruction manual the size of a phone book. Here is the part nobody warns you about: research has long found that a large share of car seats are installed or used incorrectly, and a loose or wrongly placed seat does not protect the way it should. The good news: getting it right is a short, repeatable checklist.
Quick answer
Install the seat in the back seat, never in front of an active passenger airbag for a rear-facingrear-facingThe safest car seat orientation until at least age 2 (and ideally 4+). A child's head, neck, and spine are cradled by the seat shell in a frontal crash. seat. Pick one attachment system, either the lower anchors (part of LATCHISOFIXA standardized anchor system for installing car seats without the vehicle seatbelt. ISOFIX is the international name; in the US it's called LATCH (Lower Anchors and Tethers for Children).) or a locked vehicle seat belt, and route the strap through the correct belt path for that direction. Tighten it down hard: if you can move the seat at the belt path more than one inch side to side or front to back, it is not tight enough. For a forward-facing seat, always connect the top tether. Then check the child: harness snug enough that you cannot pinch slack at the shoulders, and the chest clip at armpit level. When in doubt, a certified technician at a free car seat inspection station will check your work in person.
Key takeaways
- Back seat, every time. NHTSA advises keeping children in the back seat at least through age 12, and a rear-facing seat must never go in front of an active passenger airbag.
- One system, not two. Lower anchors and a seat belt are equally safe ways to install the seat, but you generally use one or the other, not both, unless both the car seat and the vehicle manufacturer say otherwise.
- The 1-inch test is the pass/fail. A correctly installed seat moves less than an inch at the belt path. If it wobbles more, it is not tight enough.
- Lower anchors have a weight ceiling. Lower anchors are rated for a combined 65 pounds total (seat plus child). Once you cross it, switch to the seat belt.
- Free expert help exists. Certified child passenger safety technicians inspect seats at no cost in most cases and will show you how to install it correctly.
Before you touch the seat: read two manuals
This is the step everyone skips, and the one that prevents most mistakes. Two documents govern your install:
- The car seat manual tells you the height and weight limits, which belt paths to use rear-facing versus forward-facing, and how to use any built-in lock-off.
- The vehicle owner's manual tells you where your lower anchors and tether anchors are, which seating positions allow a center install, and how your seat belts lock.
NHTSA is explicit that you should read both before installing. The instructions are seat- and car-specific, so a tip from a friend's setup may not apply to yours.
Step 1: Choose the right seat for your child's stage
The direction the seat faces matters most.
| Stage | Direction | Guidance |
|---|---|---|
| Infants and young toddlers | Rear-facing | Keep rear-facing as long as possible, up to the seat's top height or weight limit. Most convertible seats allow this for 2 years or more. |
| Older toddlers and preschoolers | Forward-facing with harness and top tether | Move up only after outgrowing the rear-facing limits of your seat. |
| School-aged children | Belt-positioning booster, then seat belt | Stay in each stage until the child outgrows it, not at a fixed birthday. |
The headline rule: keep your child in each stage as long as they fit the manufacturer's limits. "Outgrown" means by height or weight, not by age.
Step 2: Pick the back-seat position and an attachment system
Place the seat in the back. A rear-facing seat must never sit in front of an active front passenger airbag, which would strike the back of the shell against your child's head.
Now choose how you will anchor it:
- Lower anchors (LATCH): Metal bars where the seat cushions meet. Many parents find these easier in their car.
- Vehicle seat belt: Always available, in every seating position.
Equally safe, but pick one. The AAP notes the seat belt and lower-anchor systems are equally safe, so use whichever works best for your seat and car. In general, use only one of the two unless both manufacturers say it is acceptable to combine them.
A common mistake worth naming: the lower anchors are rated for a combined 65 pounds, including the seat itself. NHTSA's rule of thumb is lower-anchor limit = 65 lb minus the weight of the car seat. Once your child plus seat crosses it, switch to the seat belt.
Step 3: Route, tighten, and run the 1-inch test
This is the core of the install.
- Route the strap through the correct belt path for the direction you are using. Rear-facing and forward-facing usually use different paths on the same seat, and the manual labels them. Using the wrong path is a frequent error.
- Remove the slack. Press your weight into the seat at the belt path while you pull the lower-anchor strap or seat belt tight.
- Lock the seat belt if you used one. A seat belt install only works if the belt locks to hold the seat firmly. Most newer cars lock the belt when you pull it all the way out and let it retract; some seats have a built-in lock-off. Follow your manuals.
- Run the 1-inch test. Grab the seat at the belt path and push it side to side, then front to back. If it moves more than one inch in any direction, it is not tight enough. Re-tighten and test again.
Step 4: Connect the top tether (forward-facing)
For any forward-facing seat, the top tether is not optional. It connects the top of the seat to an anchor in your vehicle and sharply limits how far the seat and your child's head pitch forward in a crash. Anchors live behind the seat in sedans, or on the seat back, ceiling, or floor in many SUVs, minivans, and pickups. Use the tether whether you installed with a seat belt or lower anchors.
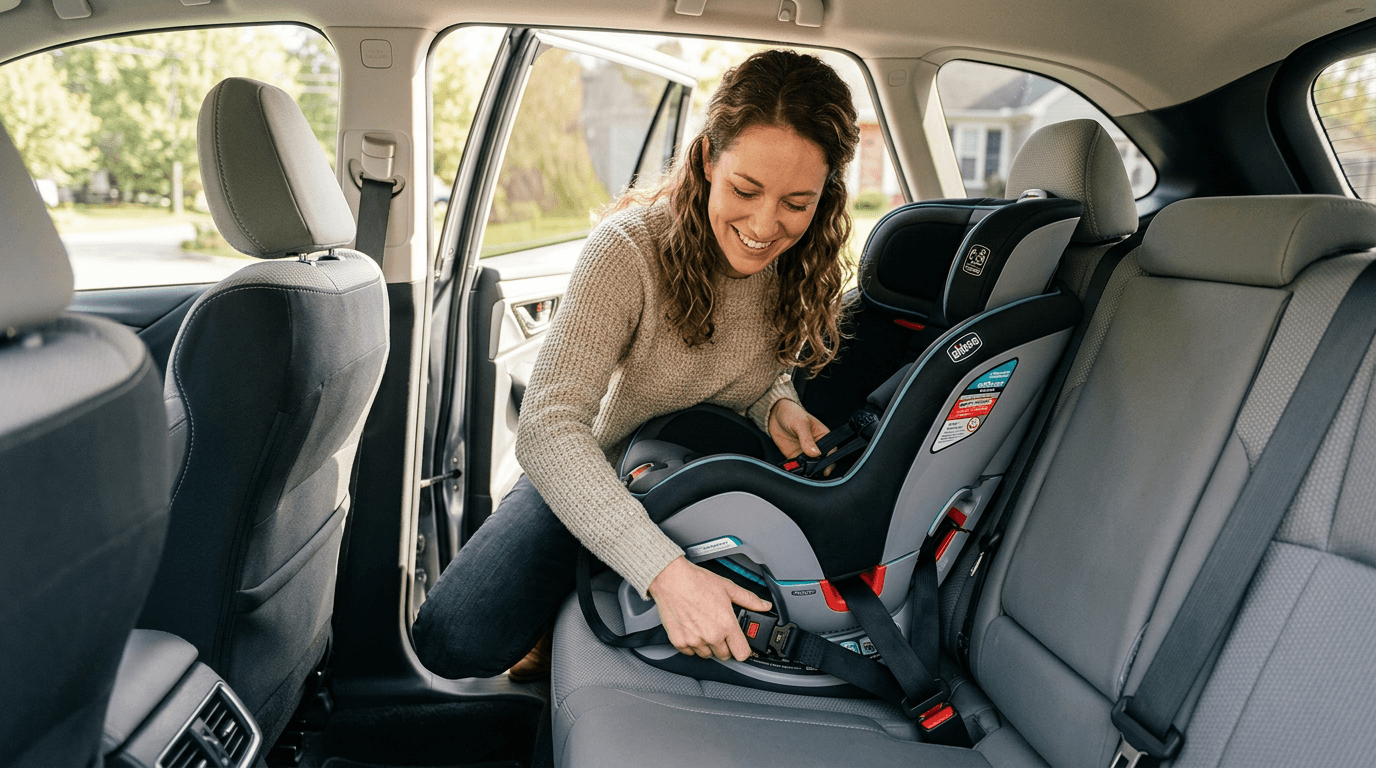
Step 5: Buckle the child correctly
A perfectly installed seat still fails if the harness is loose.
- Harness snug: You should not be able to pinch any slack between your fingers when you test the straps over your child's shoulders.
- Chest clip at armpit level: Slide the chest clip up so it sits at the center of the chest, even with the armpits.
- Correct strap height: Rear-facing harness straps go at or below the shoulders; forward-facing straps go at or above the shoulders. Your manual shows the slots.
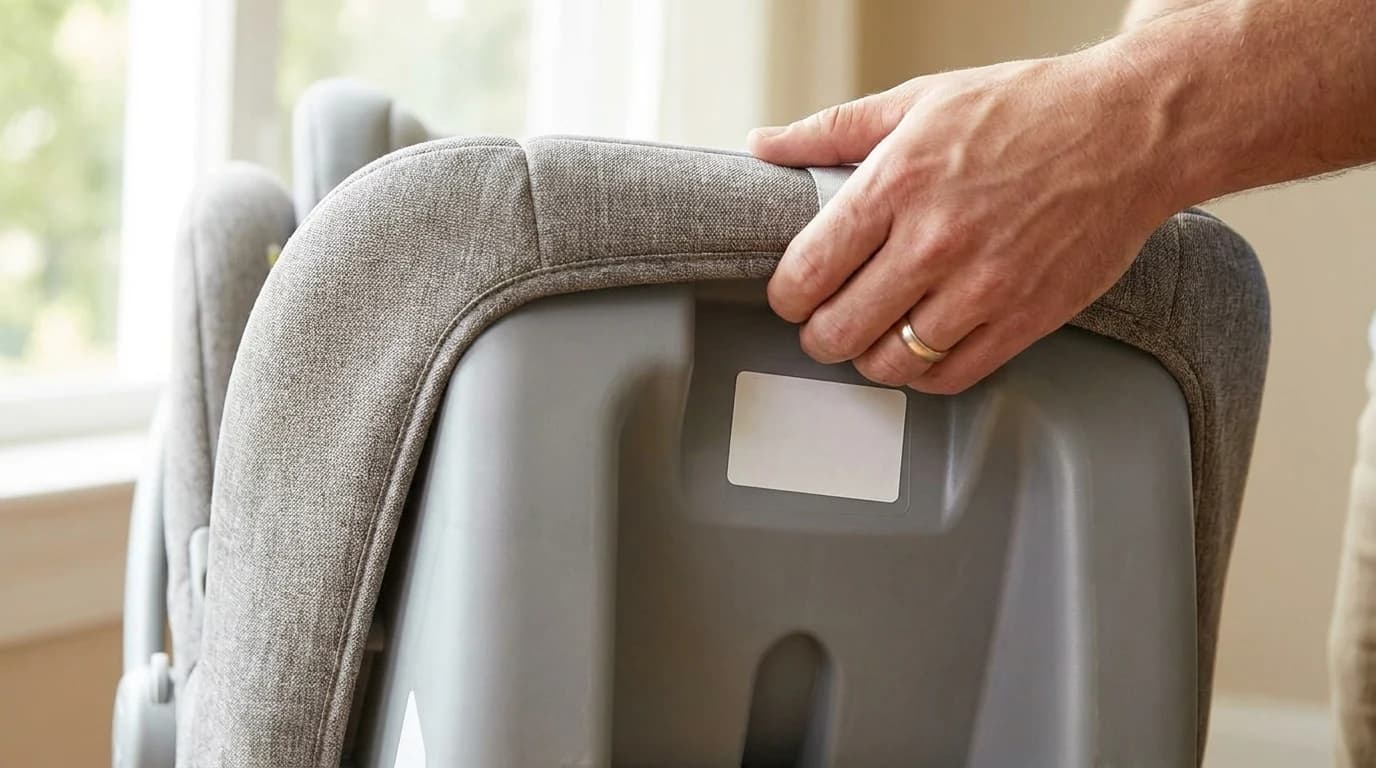
Step 6: Register the seat and get it checked
Two final steps protect you over the long run:
- Register the seat. Mail in the registration card or register on the manufacturer's website so you are notified if the model is recalled.
- Get a free inspection. Certified child passenger safety technicians at inspection stations will check your install at no cost in most cases and show you anything you missed. Many locations now offer virtual appointments.
What this guidance does NOT say
It is easy to over-generalize the rules, so here is what the authorities deliberately do not claim:
- It does not say lower anchors are safer than a seat belt. They are equally safe. Choose the one you can install tightly.
- It does not give one universal "tightness" number for every step. The 1-inch test applies to the seat at the belt path. The harness uses a separate check, the pinch test at the shoulders.
- It does not set a flip-to-forward-facing age. The trigger is outgrowing your seat's rear-facing height or weight limit, which for many convertibles is well past age 2, not a birthday.
- It does not promise the center seat is always best. The safest position is the one where you can get a tight, correct install that your vehicle allows, which is not always the middle.
Car seats and vehicles vary, and your manuals are the final word. If anything feels uncertain, that free inspection station is the move, not a guess.
Research Sources
Hilly Shore Inc.
Editorial teamIndependent product research team behind Cribworthy. Reviews are grounded in published AAP / CDC / NHTSA / CPSC pediatric guidance, JPMA / GREENGUARD GOLD / OEKO-TEX certification verification, and aggregated buyer sentiment.
115 products reviewed · 20 categories covered · cites AAP, CDC, NHTSA, CPSC, FDA, ACOG.
Safety claims are verified against published pediatric guidelines and CPSC databases. See our editorial standards.